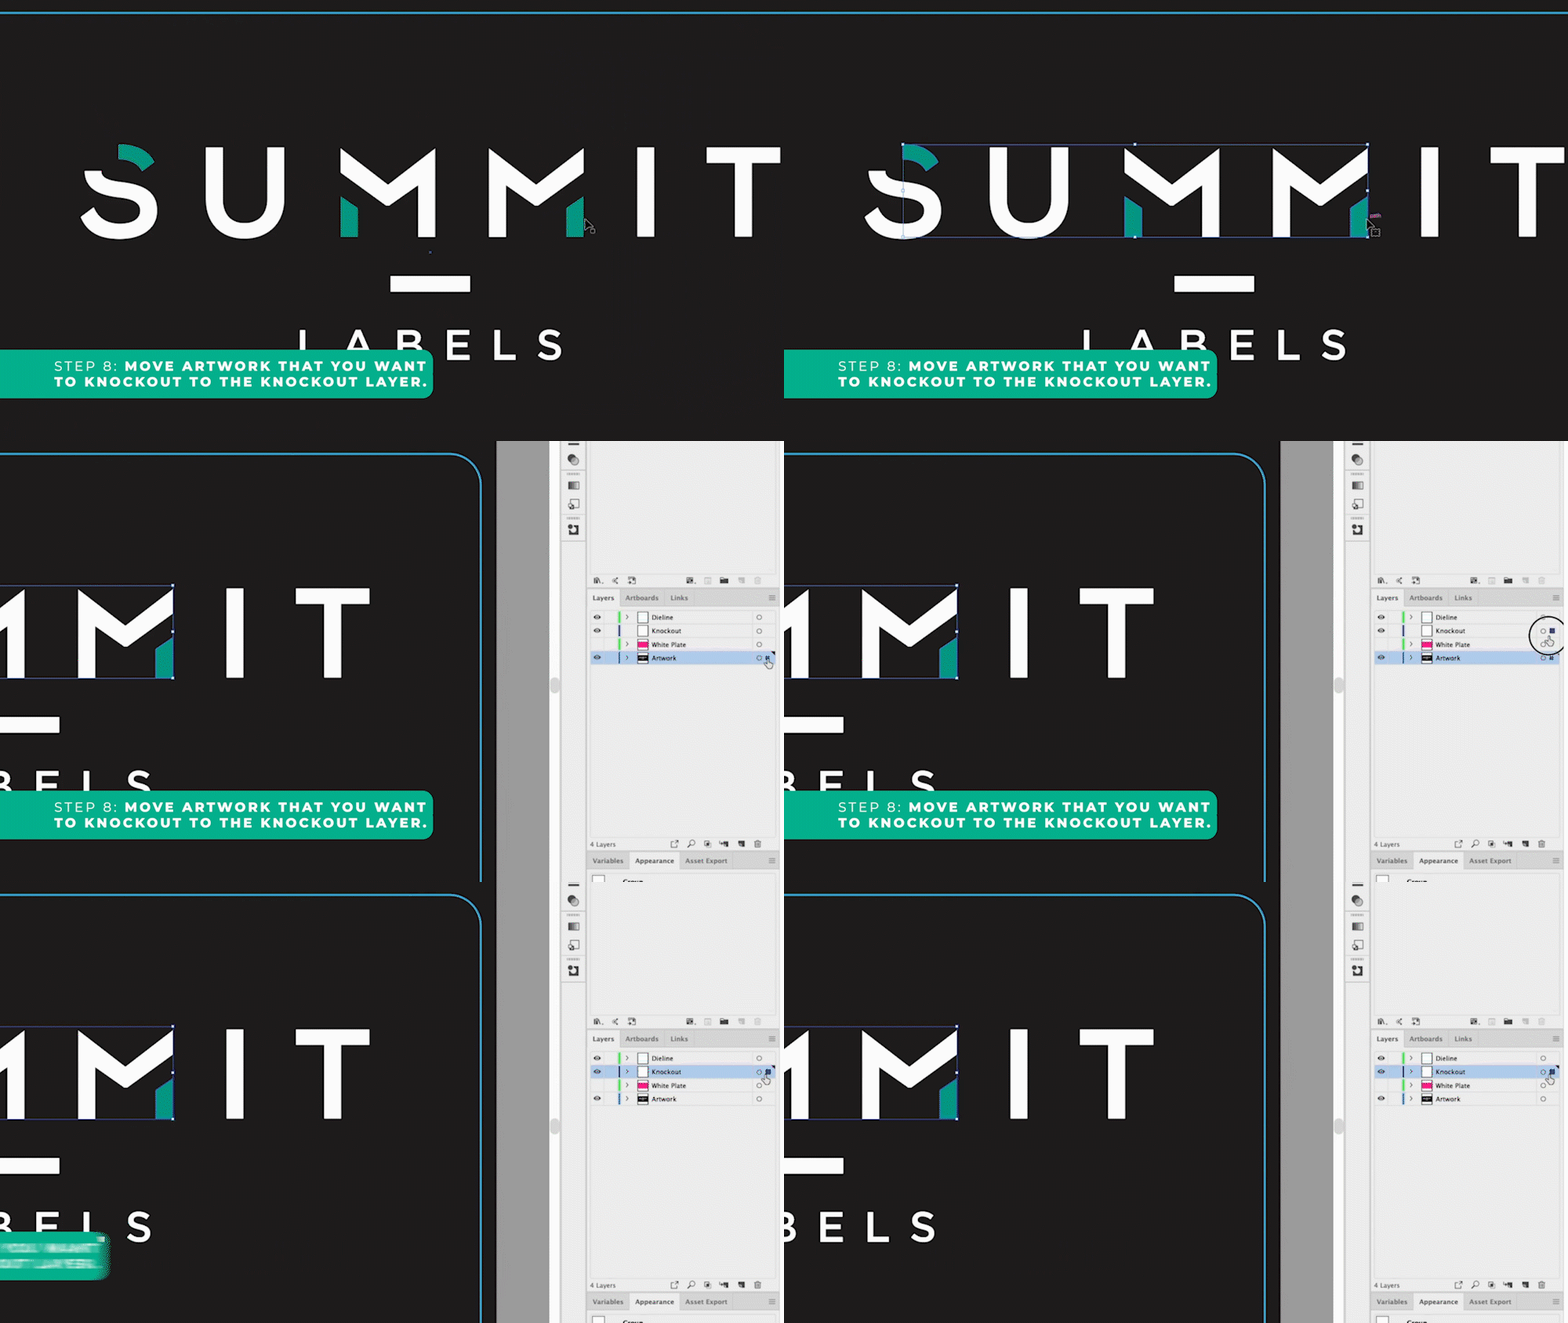
Setting up those pesky white plates and metallic layers in Adobe Illustrator: a step-by-step tutorial.
White Plates
1 - Go into your layers.
2 - Select all the elements you want to have ‘primer’ beneath them.
3 - Copy and paste into a new layer on the top of your project. Call it “white ink.”
4 - Go into the white ink layer and select all the items you’ve just pasted.
5 - Convert any strokes to outlines
6 - Fill the layer with a new colour and set to overprint fill
7 - Create a swatch of that colour in your swatch panel, make it a spot colour and name the swatch “HPI-white.”

Metallic Colour Layers
1 - Go into your layers.
2 - Select all the elements you do not want to have ‘primer’ beneath them.
3 - Copy and paste into a new layer on the top of your project (above the white ink layer).
4 - Call it “metallic.”
5 - Double check to ensure nothing is overprinting
6- To differentiate between stock metallic and your metallic colours, repeat the above steps and label your stock metallic labels “knock out to stock."

Pulling apart and stacking elements (as seen above) differentiates the artwork for the pre-pressers and the printers. It organizes your artwork, so it’s easy for the printer to follow, and it takes out the guesswork for our team, ensuring your artwork shows up exactly how you want it, every time.
If you have a particularly tricky piece of artwork, or you have questions about this tutorial, don’t hesitate to reach out! We always want to talk about label printing, and if we’re not printing your amazing labels or coming up with crazy label ideas, we’re waiting by the phone. (Seriously, we can’t talk about this stuff at home anymore…)
Is your artwork up to snuff? Download our free artwork checklist to make sure you're submitting it right!


Follow Us